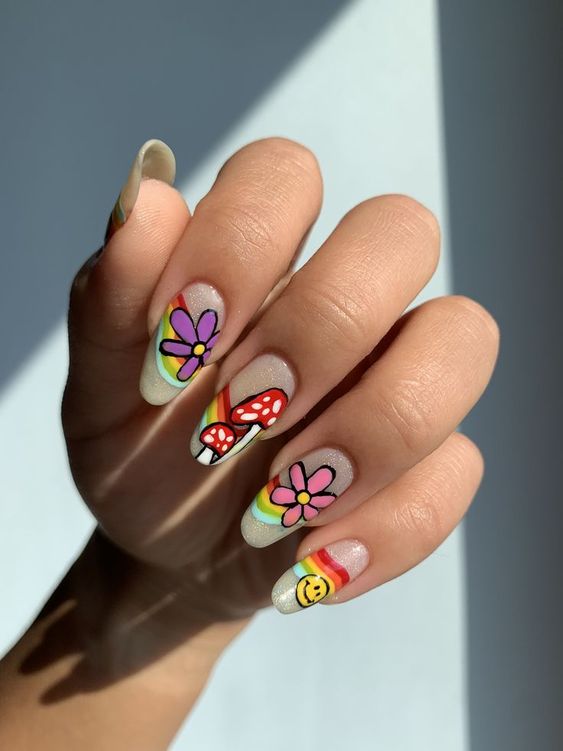
Trippy nails are a captivating and popular manicure trend that allows you to express your creativity and showcase your adventurous side. With their vibrant colors, psychedelic patterns, and optical illusions, trippy nails are a fantastic choice for those looking to make a bold and unique statement. In this article, we’ll guide you through the process of creating mesmerizing trippy nail art designs that will elevate your style to a whole new level.
Section 1: Why Choose Trippy Nails?
Trippy nails offer an exciting and dynamic look that stands out from traditional nail art. The bold colors, abstract patterns, and optical illusions create an eye-catching and visually stimulating effect. Trippy nails allow you to unleash your imagination and experiment with various design elements, making each manicure truly one-of-a-kind. These nails are a perfect match for festivals, parties, or any occasion where you want to showcase your vibrant personality. Section 2: Step-by-Step Guide to Achieving Trippy Nails: Step 1: Gather the necessary supplies
Acetone or nail polish remover Base coat Vibrant nail polish colors (neon shades work well) Nail art brushes or dotting tools Thin striping tape Top coat Step 2: Prepare your nails
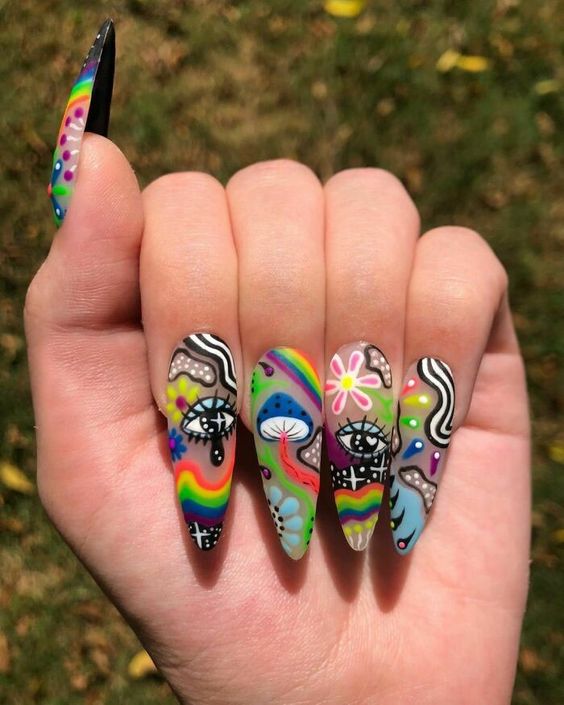
Remove any existing nail polish using acetone or nail polish remover. Trim and shape your nails according to your preference. Apply a layer of base coat to protect your nails and ensure better adhesion of the polish. Step 3: Get creative with colors and patterns
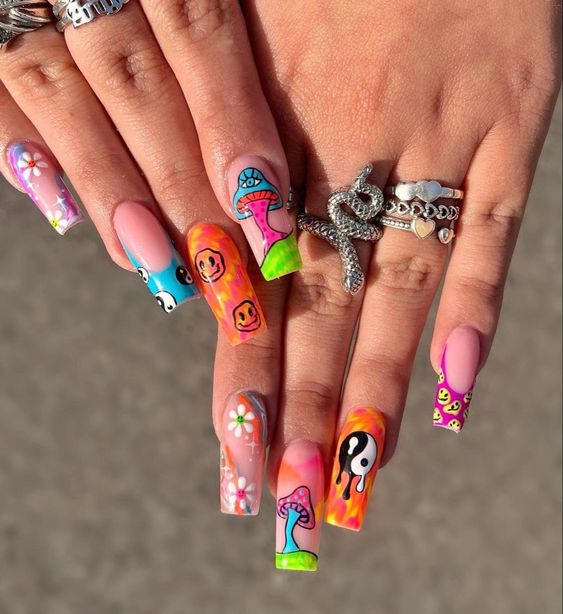
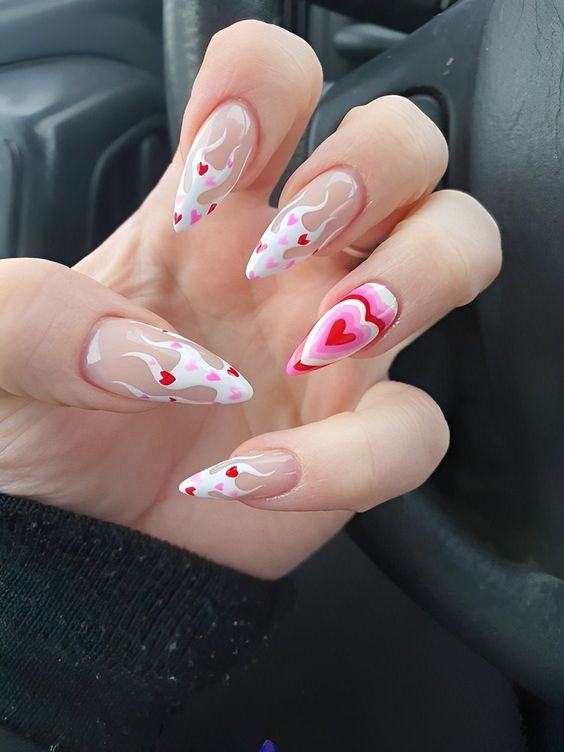
Choose two or three vibrant nail polish colors that complement each other. Apply the base color to your nails and allow it to dry completely. Use the nail art brushes or dotting tools to create abstract shapes, swirls, or lines with the other colors on each nail. Experiment with different patterns and designs to achieve a trippy and mesmerizing effect. Step 4: Add optical illusions with striping tape
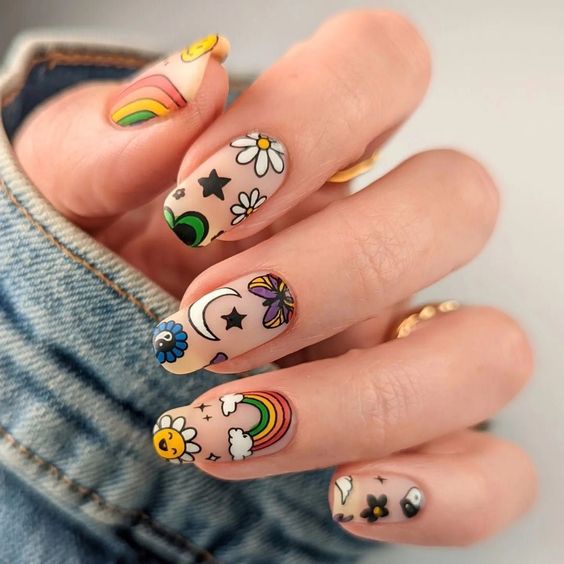
Once the colorful designs have dried, apply thin striping tape on selected areas of your nails to create optical illusions and separation between colors. Be creative with the placement of the tape, allowing it to intersect or create geometric shapes. Apply a different color on the exposed areas, overlapping the tape slightly. Carefully remove the tape while the polish is still wet to reveal the trippy patterns. Step 5: Finishing touches
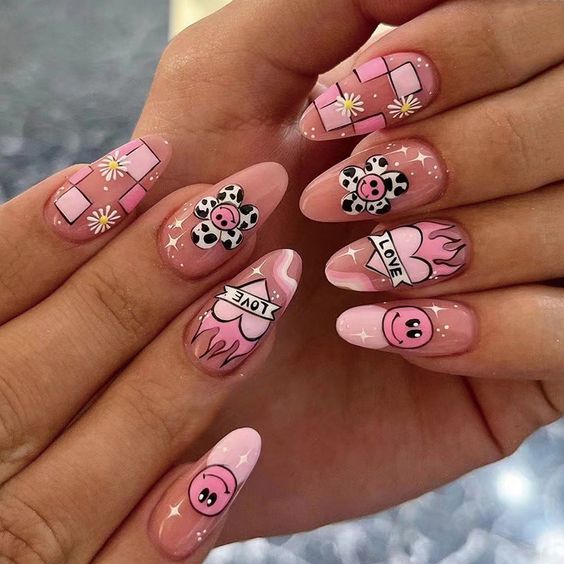
After the design has dried, apply a layer of top coat to protect the nail art and give it a glossy finish. Allow your nails to dry completely before engaging in any activities that could potentially smudge the design.
Section 3: Tips for Maintaining Trippy Nails:
To maintain the vibrancy of your trippy nails, avoid prolonged exposure to water and harsh chemicals. Wear gloves when engaging in activities that could potentially damage your manicure. Apply a fresh layer of top coat every few days to prolong the life of the design and prevent chipping. If any chips or damages occur, use a small brush dipped in matching nail polish to touch up the design. Conclusion: Step into the world of trippy nails and let your imagination run wild with vibrant colors, abstract patterns, and optical illusions. This unique manicure trend offers a mesmerizing and visually stimulating look

